INVITE NEW USERS: Desktop and Mobile Tutorial
Introduction
This tutorial is designed to instruct you on inviting and managing users on both desktop and mobile platforms. It also explains user invitation limits based on your account's subscription plan.
Prerequisites
Before setting up Account Settings, ensure you have set up your Subscription Settings. This is mandatory. Click here to learn more.
Navigation to Account Settings
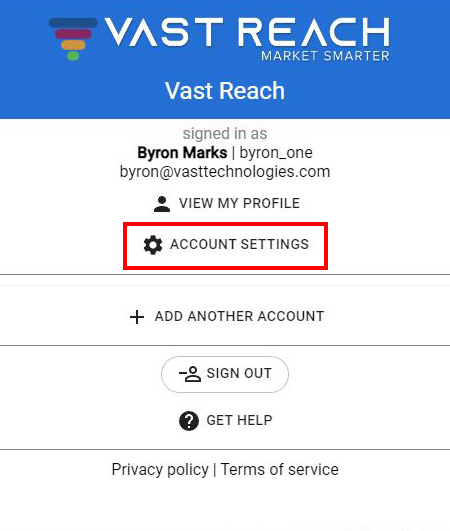
- Desktop/Mobile: Access Account Settings by selecting the icon button at the top right. Next click the Gear Icon with the text 'Account Settings'. Alternatively on desktop, you can use the link: https://console.vastreach.com/accountsettings.
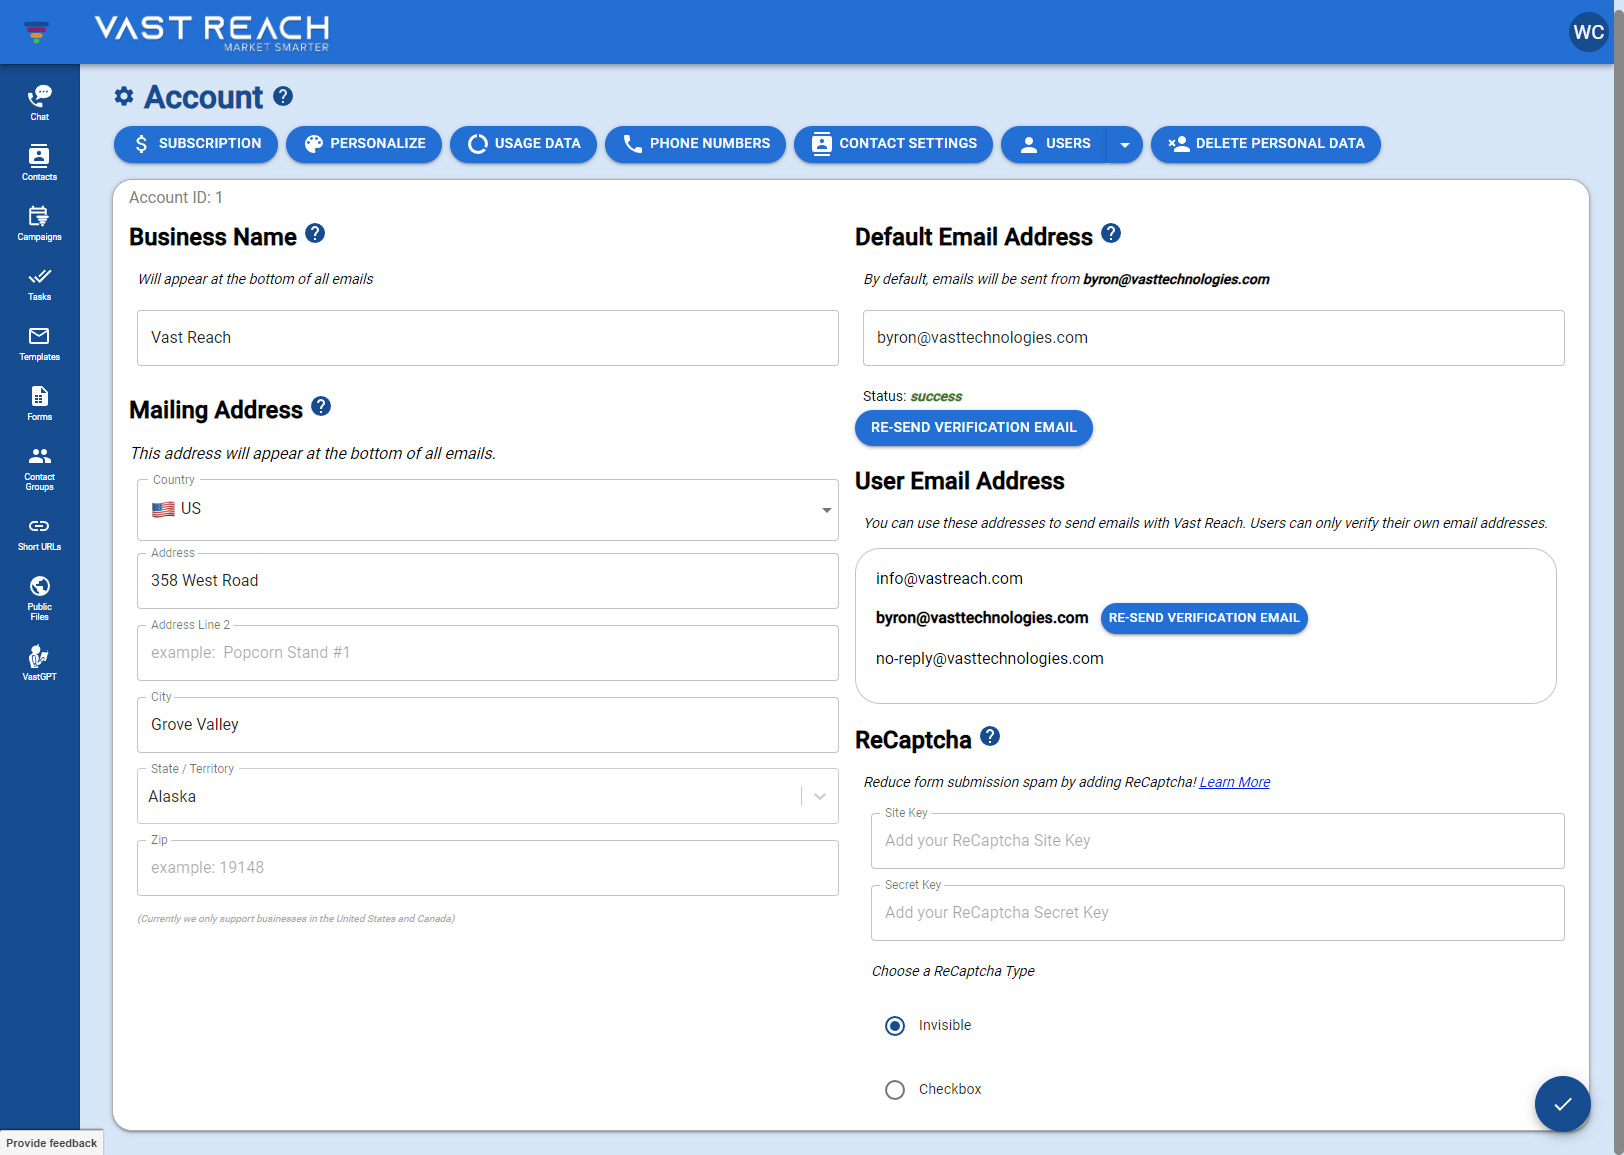
- Once on the page, click the "USERS" button at the top right (visible only to the account owner).
User Creation
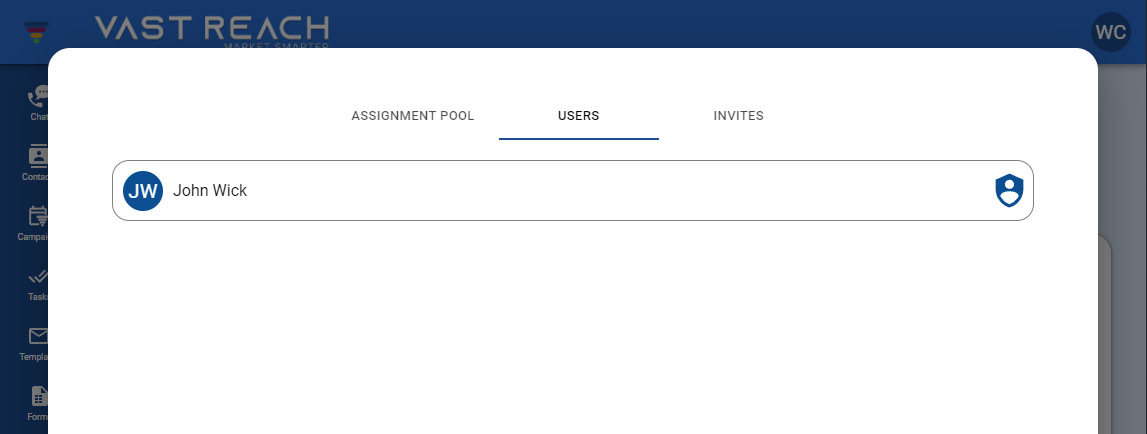
- A modal (pop-up window) titled "USER INVITATION" will appear, displaying all of your users.
- If you haven't invited anyone yet, this list will be empty.
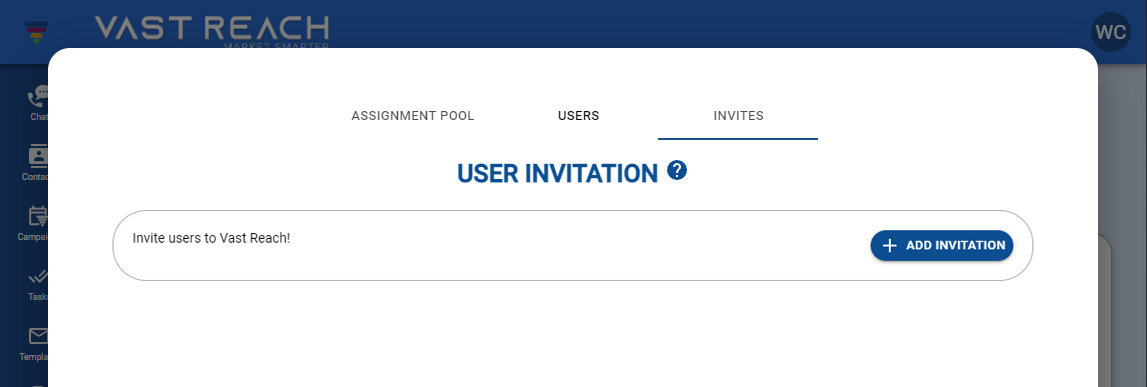
- Click the "+ ADD INVITATION" button to start inviting a new user.
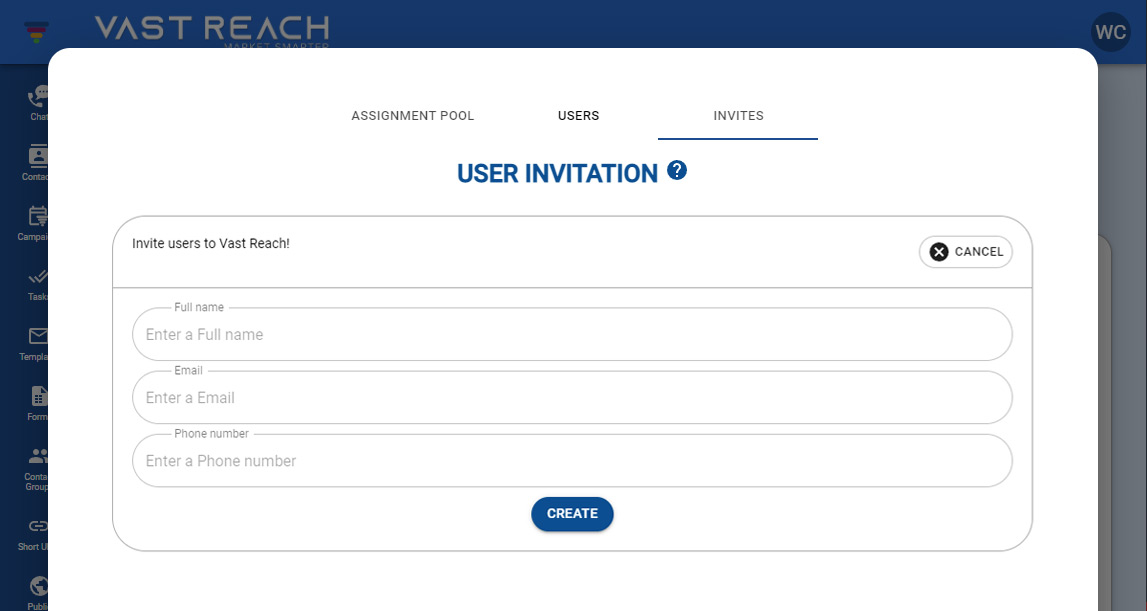
- You will see three input fields: Full Name, Email, and Phone Number.
- Fill out these fields and click the "CREATE" button to send the invitation.
- You can cancel using the "CANCEL" button at the top right.
Post-Invitation
- Once the invitation is sent, the user will receive an email with instructions to sign up for Vast Reach.
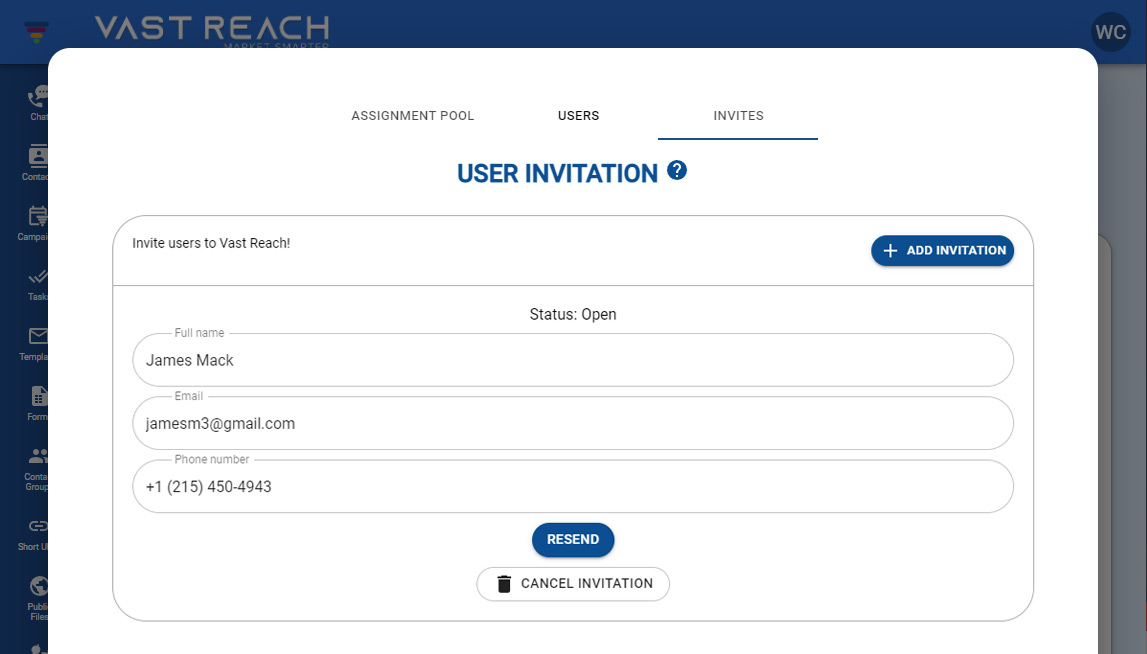
- After they create an account, the invitation modal will show "Status: Accepted" above that user's full name.
- Note: You can cancel a sent user invitation at any time by clicking the "CANCEL INVITATION" button below the grayed out "SENT" button in the user invitation modal.
Do's and Don'ts
Do:
- Remember that user creation is limited if your plan is Base or Premium.
- Check if the invited user has verified their status.
Don't:
- Invite potential users who may not align with your business needs.