CREATE CUSTOM FORMS
This comprehensive tutorial guides you through creating, setting up, and using custom forms on both desktop and mobile devices. Custom forms enable the addition of sections like custom fields, multiple choice questions, open-ended questions, and media content (images/files). You can also analyze responses with detailed statistical data, including graphs, sentiment analysis, percentages, and numerical data. These forms are ideal for gathering detailed responses from external (contacts) and internal (users or employees) sources.
Prerequisites Before Creating a Custom Form
Before starting this tutorial, ensure you have set-up of the following prerequisites. This is mandatory. Click the links below to learn more.
Note: While not mandatory, these forms can be sent directly to a Group, requiring contacts and groups to be set up.
Navigate to Custom Forms
- Desktop: Click the 'Forms Icon' from the left side menu or go directly to it via this link: https://console.vastreach.com/forms.
- Mobile: Click the Forms link text in the navigation (logo at the top left).
Create a New Custom Form
- Click the 'ADD FORM' button at the top right of the form list.

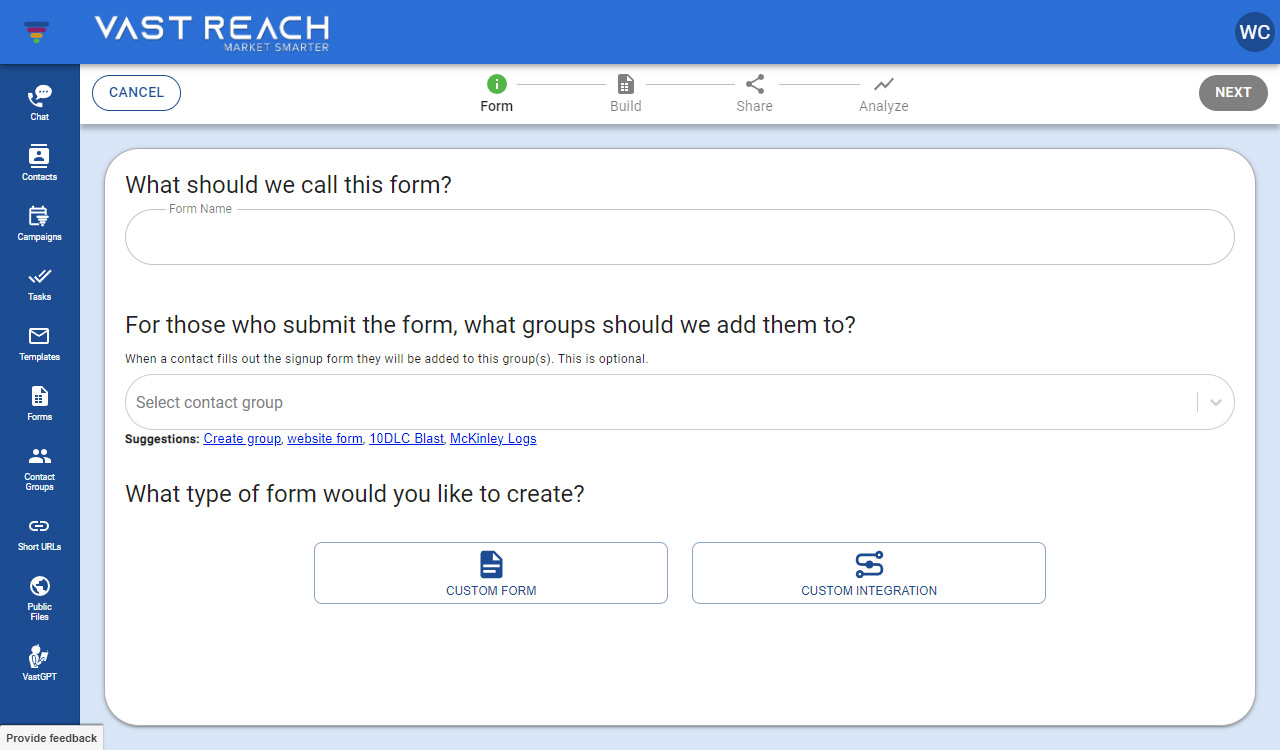
- Enter a Form Name, select a form type, and optionally add a contact group automation (Learn more about groups here).
- Proceed by clicking 'NEXT' (desktop) or the Arrow button (mobile).
- Returning to the form list is possible by clicking 'CANCEL' (desktop) or 'X' (mobile).
Building a Custom Form
- The Build step starts with a live preview (left side on desktop, Preview tab on mobile).
- Add customizable sections using the '+ ADD SECTION' button or text link.
- Options include:
-
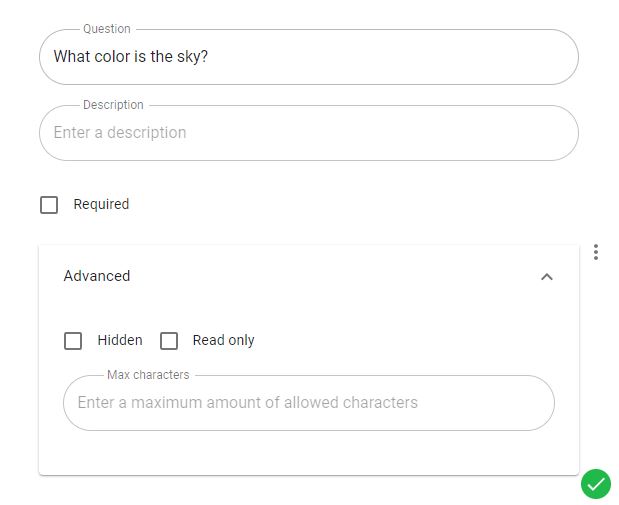
Open-ended Question: Text or number response, with advanced options for character limits.
-
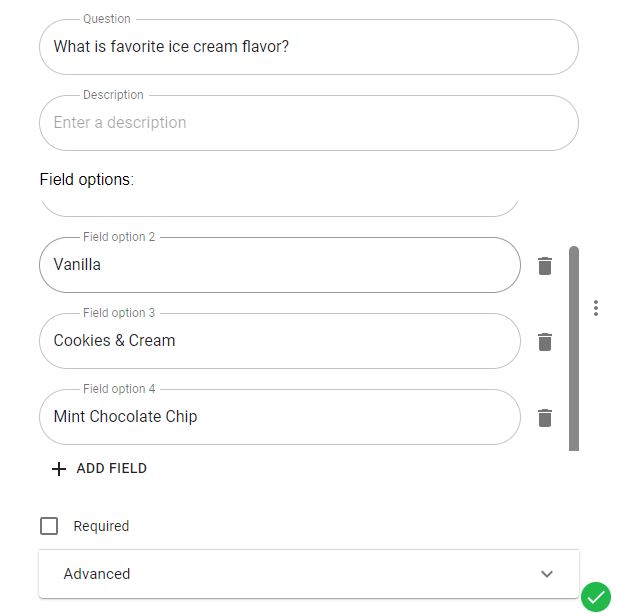
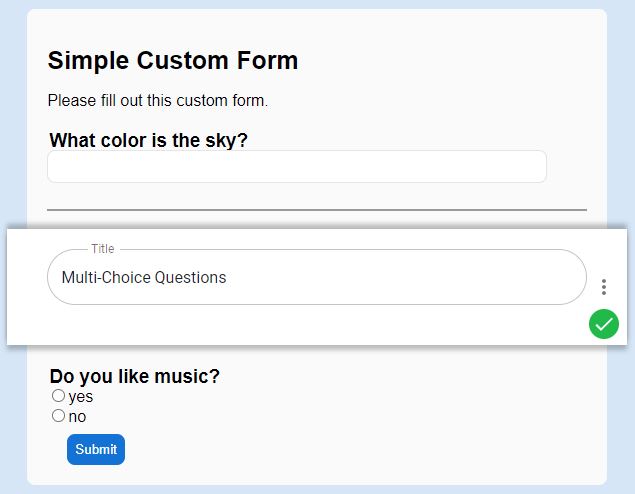
Multi-Choice Question: Yes/No, choose one, or choose multiple options.
-
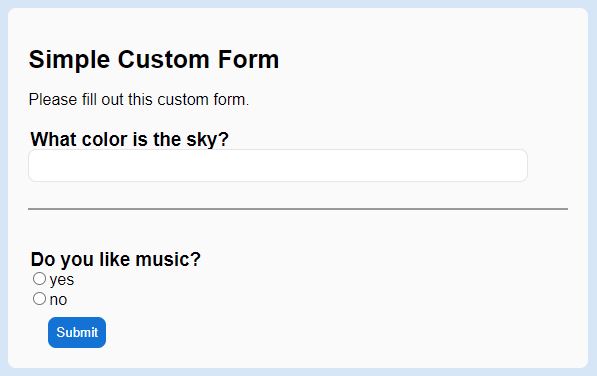
Separators: For sectioning parts of the form.
-
Image File: Using the built-in Vast image library.
-
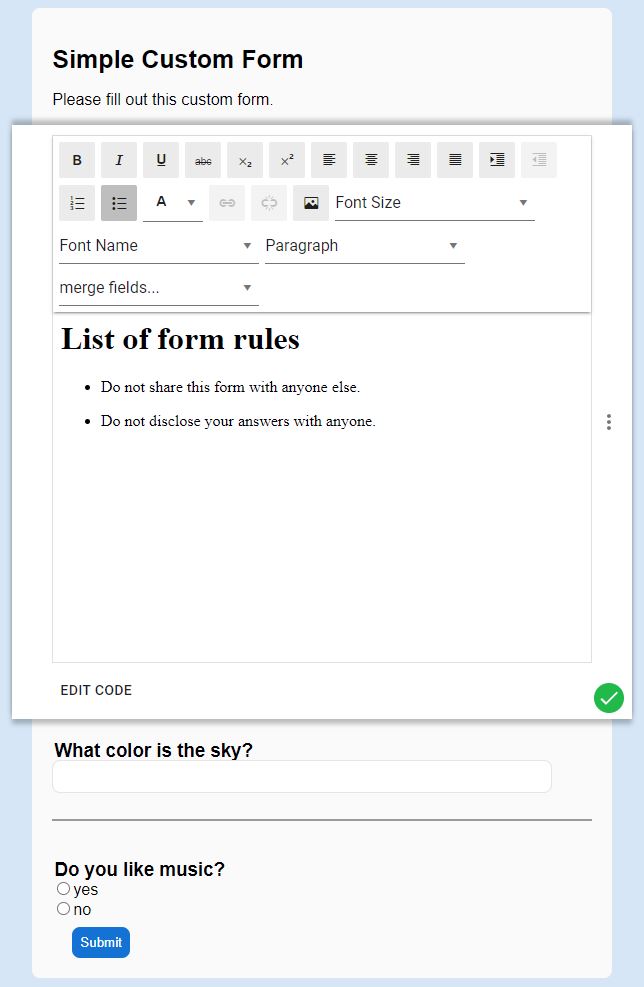
Title and Custom Sections: With WYSIWYG editor and custom HTML options.
-
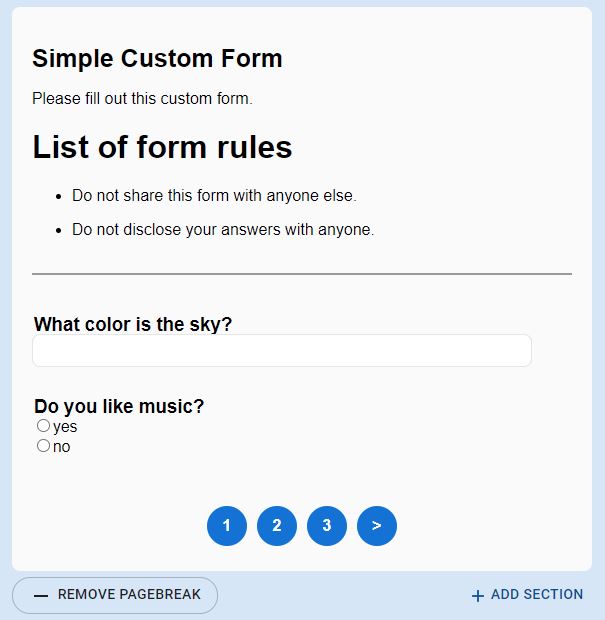
Page Breaks: For long forms.
-
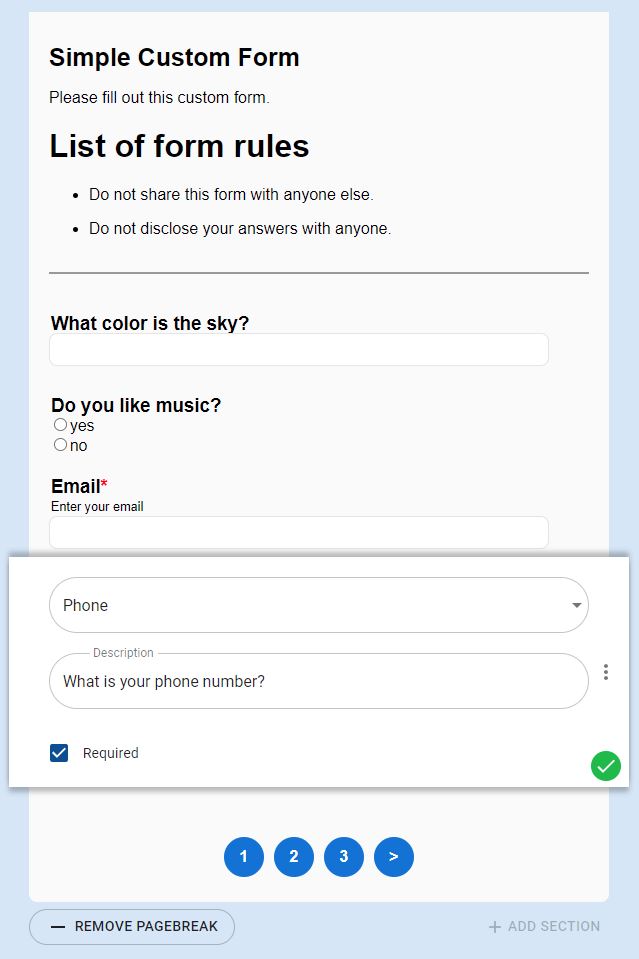
Contact Fields: For personal information, with options for hidden, read-only, or mandatory fields.
-
Customize Look and Feel
- Access styling options in the 'Look & Feel' tab (right pane on desktop, next tab on mobile).
- Sections include Form, Look and Feel, Fields, Font, Background, and Button.
- Customize:
-
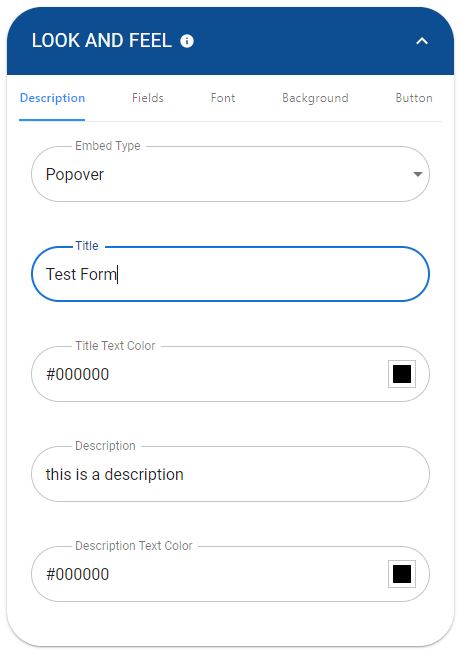
Description: Embedding type, title, and color.
-
Font: Selection from web-safe fonts and color customization.

-
Background: Change background color.

-
Button: Text and color customization.

-
Additional Features
-
Add Your Logo: Using a direct link or uploading from your device.

-
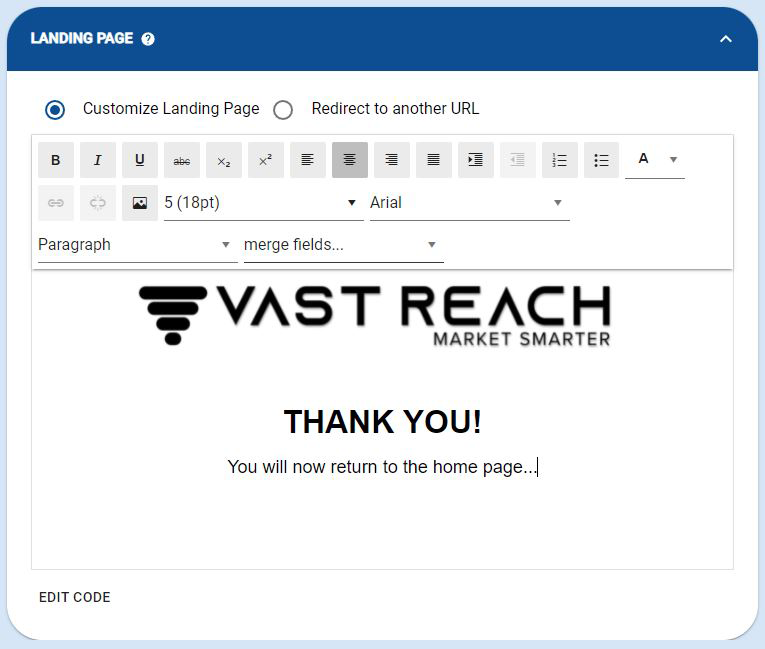
Redirect or Create a Landing Page: Options for redirecting after form completion or creating a custom landing page.

Finalizing and Sharing Your Form
- Finalize the form creation with the 'CREATE' button (desktop) or Green Floppy Disk button (mobile).
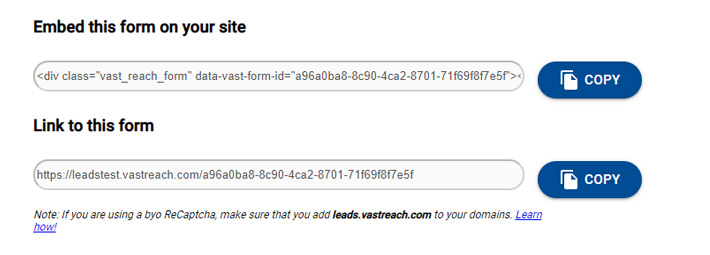
- Share forms via embed codes or direct links, available through the Share icon.
Analyze Form Responses and Statistics
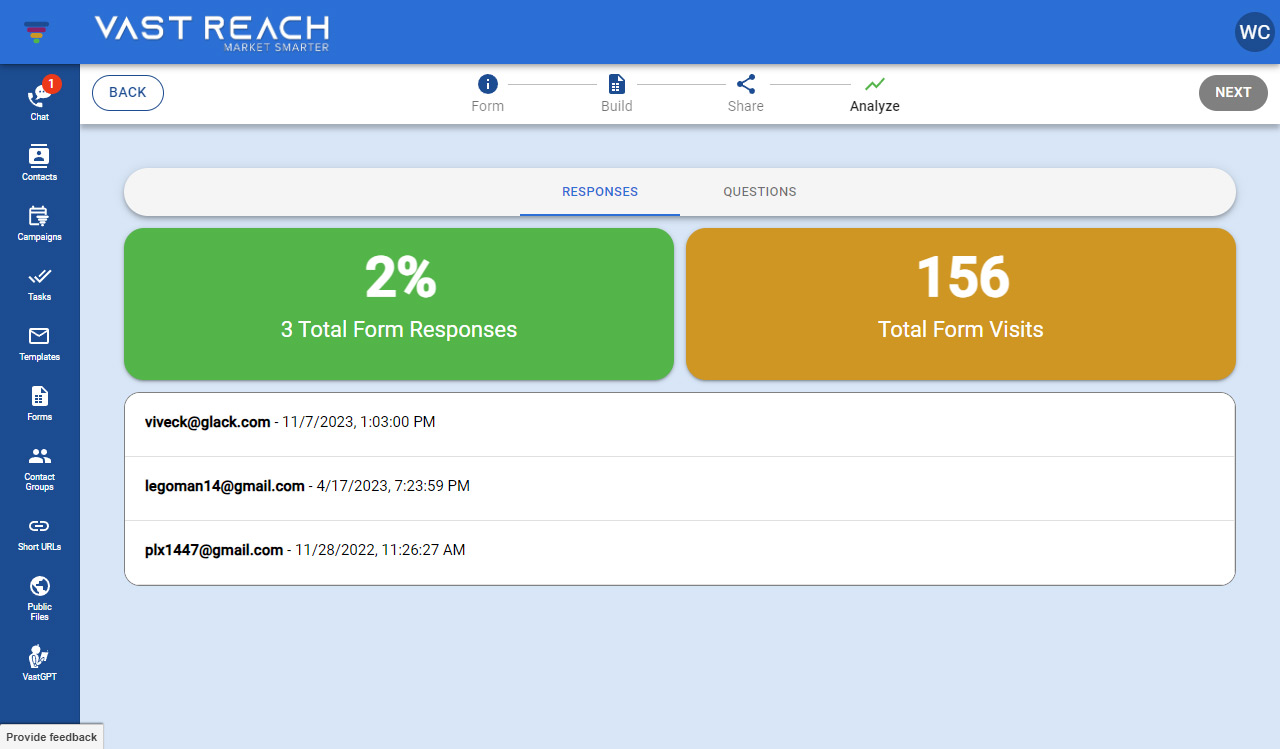
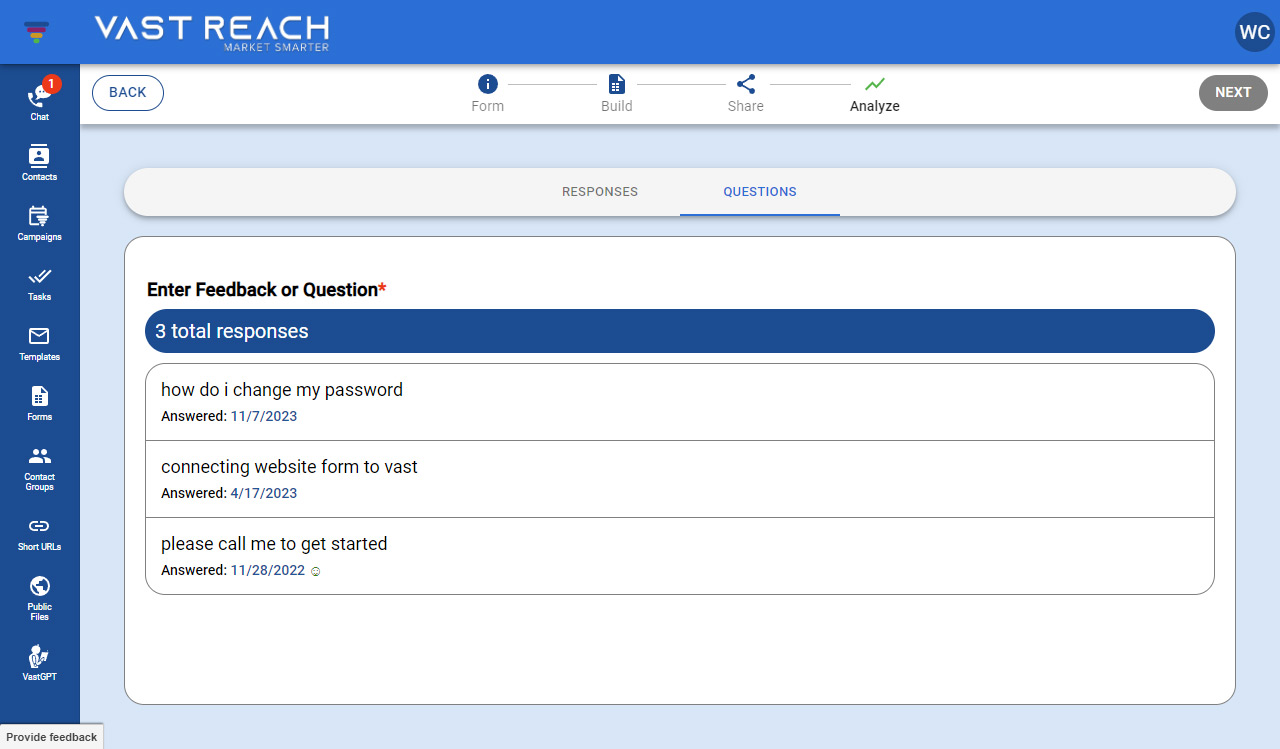
- Analyze responses and statistics using the 'Analyze' icon.
- View aggregate data, detailed statistics, graphs, sentiment analysis, and more.
Do's and Don'ts
Do:
- Set up a Landing Page or redirect for your forms.
Don't:
- Forget that all forms require a Form Name, Title, Description, and Contact Group.
- Omit using Page Breaks in long forms.